When using Spring Data JPA, the JpaRepository interface gives us query methods to execute database queries without the need to write manual queries. In these query methods, a count query method is important and useful when we use a JpaRepository in our application. This method lets us fetch the total number of rows in the database table. In this topic, we will learn how to use the count method in the JPA Repository using Spring Boot.
What is count in JPA Repository?
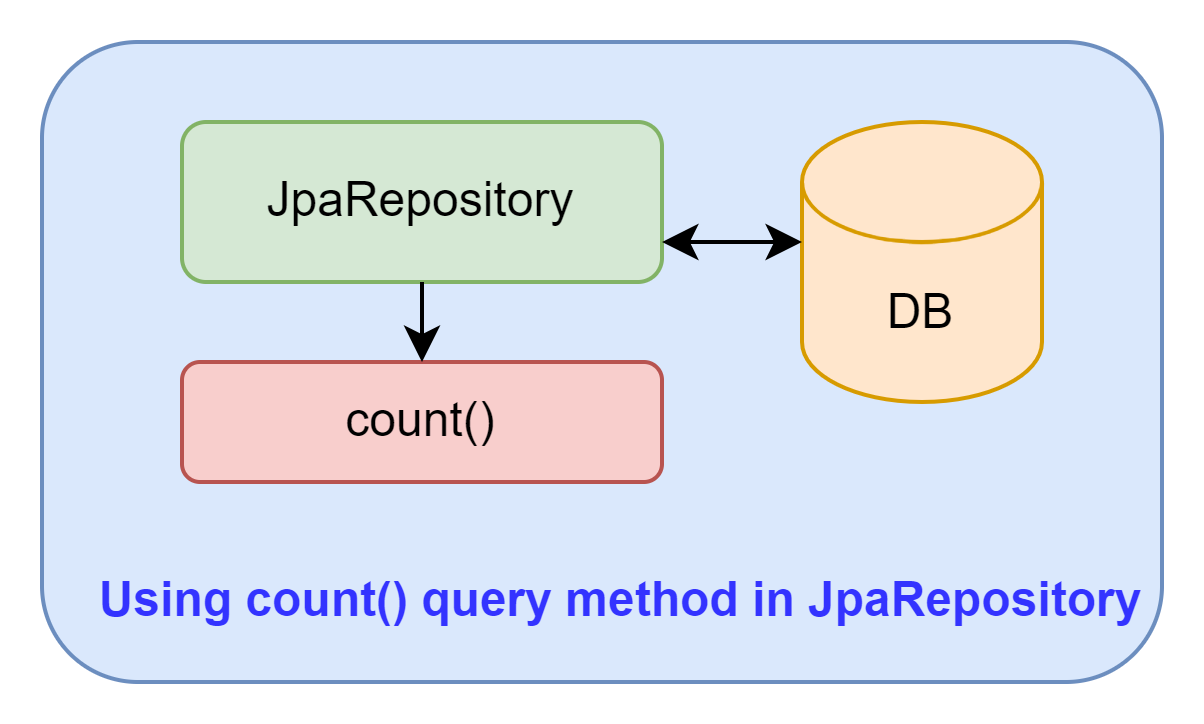
The count method is a query method of the JpaRepository interface to return the total number of entities in the JpaRepository. This method is used when we need to get the size of the dataset, perform pagination or simply verify the existence record based on the specific criteria.
Using count Method
To use the count method we need to create a repository interface that extends the JpaRepository of the Spring Data JPA. Defining the JPA Entity class name and its property’s data type that is annotated with @Id annotation that is generic for the JpaRepository.
public interface UserRepository extends JpaRepository<User, Long> {

}
Counting All Records
We will create a business logic class where we can inject the UserRepository and use the count() query method of the JpaRepository. We will just call userRepo.count() to get the count of all records of the database table.
@Service
public class UserService {

@Autowired
private UserRepository userRepo;

public long getCount() {
return userRepo.count();
    }
}
Counting Records with Specific Criteria
To count records with specific criteria we need to create a custom query method in the repository interface using Spring Data JPA’s create query method mechanism. The method starts with countBy followed by the property name of the JPA entity class and defines parameter data type and variable name[countByPropperty_Name(Data type Variable Name)]. We need to use that property name of the entity class in the method which we want to get a count record from the database table. Let’s create a method on the UserRepository.
public interface UserRepository extends JpaRepository<User, Long> {

long countByStatus(String status)

}
Now we will create a business logic class where we can inject the UserRepository and call the countByStatus(String status) method to get the count records based on the status property of the User entity class. Let’s create a class and use it to call the method.
@Service
public class UserService {

@Autowired
private UserRepository userRepo;

public long getCountByStatus(String status) {
return userRepo.countByStatus(status);
    }
}
Implementing count in JpaRepository Spring Boot
Let us make a Spring Boot Application to implement count in the JpaRepository step-by-step.
These are the following steps:
- Creating a Spring Boot Starter Project
- Keep the IDE ready
- Maven Dependency
- Defining H2 Database Configuration
- Creating a JPA Entity class
- Creating a JPA Repository
- Creating a Service class
- Injecting Service class
- Run the Spring Boot Application and Check
1. Creating a Spring Boot Starter Project
We are creating a Spring Boot Application from the web tool Spring Initializr or you can make it from the IDE(STS, VS Code etc.).
Add the following dependencies:
- Spring Data JPA
- Lombok
- H2 Database
2. Keep the IDE ready
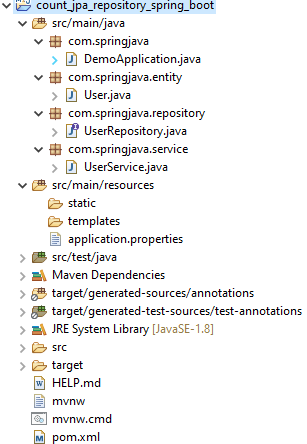
We are importing this created application into our Eclipse IDE’s workspace or you can import it into another IDE you use. You can refer to this article to create and set up the Spring Boot Project in Eclipse IDE.
Project Structure in Eclipse IDE
3. Maven Dependency
Here is the complete pom.xml file for the Spring Boot Application.
pom.xml
<?xml version="1.0" encoding="UTF-8"?>
<project
	xmlns="http://maven.apache.org/POM/4.0.0"
	xmlns:xsi="http://www.w3.org/2001/XMLSchema-instance"

xsi:schemaLocation="http://maven.apache.org/POM/4.0.0 https://maven.apache.org/xsd/maven-4.0.0.xsd">
	<modelVersion>4.0.0</modelVersion>
	<parent>
		<groupId>org.springframework.boot</groupId>
		<artifactId>spring-boot-starter-parent</artifactId>
		<version>2.6.3</version>
		<relativePath />
		<!-- lookup parent from repository -->
	</parent>
	<groupId>com.springjava</groupId>
	<artifactId>demo</artifactId>
	<version>0.0.1-SNAPSHOT</version>
	<name>demo</name>
	<description>Demo project for Spring Boot</description>
	<properties>
		<java.version>8</java.version>
	</properties>
	<dependencies>
		<dependency>
			<groupId>org.springframework.boot</groupId>
			<artifactId>spring-boot-starter-data-jpa</artifactId>
		</dependency>
		<dependency>
			<groupId>org.projectlombok</groupId>
			<artifactId>lombok</artifactId>
			<optional>true</optional>
		</dependency>
		<dependency>
			<groupId>com.h2database</groupId>
			<artifactId>h2</artifactId>
			<scope>runtime</scope>
		</dependency>
		<dependency>
			<groupId>org.springframework.boot</groupId>
			<artifactId>spring-boot-starter-test</artifactId>
			<scope>test</scope>
		</dependency>
	</dependencies>
	<build>
		<plugins>
			<plugin>
				<groupId>org.springframework.boot</groupId>
				<artifactId>spring-boot-maven-plugin</artifactId>
			</plugin>
		</plugins>
	</build>
</project>
4. Defining H2 Database Configuration
We are configuring the H2 database configuration in the application.properties file.
application.properties
# H2 Database Configuration
spring.datasource.url=jdbc:h2:mem:test
spring.datasource.username=sa
spring.datasource.password=
spring.jpa.show-sql=true
spring.jpa.properties.hibernate.dialect=org.hibernate.dialect.H2Dialect
spring.jpa.hibernate.ddl-auto=update
spring.h2.console.enabled=true
5. Creating a JPA Entity class
We are creating a JPA entity class User with these properties(id, name, email and status).
User.java
package com.springjava.entity;

import javax.persistence.Entity;

import javax.persistence.GeneratedValue;

import javax.persistence.GenerationType;

import javax.persistence.Id;

import lombok.Data;

@Data

@Entity

public class User {

  @Id

  @GeneratedValue(strategy = GenerationType.IDENTITY)

  private Long id;

  private String name;

  private String email;

  private String status;

}- This @Data annotation is used for a constructor, setter method, getter method, etc.
- This @Entity annotation is used to create a table through Java code in the database.
- This @Id annotation is used to create a primary key of the entity class.
- This @GeneratedValue(strategy = GenerationType.IDENTITY) annotation is used to generate increment value of the specified property of entity class
6. Creating a JPA Repository
We are creating a repository interface UserRepository that extends JpaRepository to interact with the JPA Entity class and adding a custom query method.
UserRepository.java
package com.springjava.repository;

import org.springframework.data.jpa.repository.JpaRepository;

import com.springjava.entity.User;

public interface UserRepository extends JpaRepository < User, Long > {

 long countByStatus(String status);

}- long countByStatus(String status): This method is added for getting the total number of records based on the status property of the User entity class.
7. Creating a Service class
We are creating a User class service class where we can inject UserRepository to use its method for saving the record in the user table and getting the total number of the records from the user table.
UserService.java
package com.springjava.service;

import org.springframework.beans.factory.annotation.Autowired;
import org.springframework.stereotype.Service;
import com.springjava.entity.User;
import com.springjava.repository.UserRepository;

@Service
public class UserService {

@Autowired
private UserRepository userRepo;

public void save(User user) {
userRepo.save(user);
}

public long getCount() {
return userRepo.count();
}

public long getCountByStatus(String status) {
return userRepo.countByStatus(status);
   }
}- We used @Autowired annotation to inject UserRepository in this service class.
- This @Service annotation is a stereotype annotation of the Spring Framework. This annotation marks the class as a service provider for this application.This annotation is used in class where we can write business logic codes.
8. Injecting Service class
We are Injecting UserService to the DemoApplication class and this class implements CommandLineRunner interface to quickly test the application.
DemoApplication.Java
package com.springjava;

import org.springframework.beans.factory.annotation.Autowired;

import org.springframework.boot.CommandLineRunner;

import org.springframework.boot.SpringApplication;

import org.springframework.boot.autoconfigure.SpringBootApplication;

import com.springjava.entity.User;

import com.springjava.service.UserService;

@SpringBootApplication

public class DemoApplication implements CommandLineRunner {

    @Autowired

    private UserService userService;

    public static void main(String[] args) {

        SpringApplication.run(DemoApplication.class, args);

    }

    @Override

    public void run(String...args) throws Exception {

        User user1 = new User();

        user1.setName("Test");

        user1.setEmail("test@gmail.com");

        user1.setStatus("Active");

        User user2 = new User();

        user2.setName("ABC");

        user2.setEmail("tabc@gmail.com");

        user2.setStatus("Inactive");

        User user3 = new User();

        user3.setName("XYZ");

        user3.setEmail("xyz@gmail.com");

        user3.setStatus("Active");

        User user4 = new User();

        user4.setName("PQR");

        user4.setEmail("pqr@gmail.com");

        user4.setStatus("Inactive");

        // saving the user

        userService.save(user1);

        userService.save(user2);

        userService.save(user3);

        userService.save(user4);

        // getting user count

        long count = userService.getCount();

        // getting user based on the status

        long userCountActive = userService.getCountByStatus("Active");

        long userCountInActive = userService.getCountByStatus("Inactive");

        System.out.println("-----output-----");

        System.out.println("Counting All Records:" + count);

        System.out.println("Counting All Records based on Status Active:" + userCountActive);

        System.out.println("Counting All Records based on Status Inactive:" + userCountInActive);

    }

}
10. Run the Spring Boot Application and Check
Right-click this Spring Boot application on the DemoApplication.java, then click Run As, and select Java Application.
After the application is running successfully then Data JPA (internally uses Hibernate as a JPA provider) generated SQL statement and output in the console below here:
Hibernate: insert into user (id, email, name, status) values (null, ?, ?, ?)

Hibernate: insert into user (id, email, name, status) values (null, ?, ?, ?)

Hibernate: insert into user (id, email, name, status) values (null, ?, ?, ?)

Hibernate: insert into user (id, email, name, status) values (null, ?, ?, ?)

Hibernate: select count(*) as col_0_0_ from user user0_

Hibernate: select count(user0_.id) as col_0_0_ from user user0_ where user0_.status=?

Hibernate: select count(user0_.id) as col_0_0_ from user user0_ where user0_.status=?

-----output-----

Counting All Records:4

Counting All Records based on Status Active:2

Counting All Records based on Status Inactive:2
Conclusion
In this topic, we learnt how to use count in the JpaRepository using the Spring Boot application.